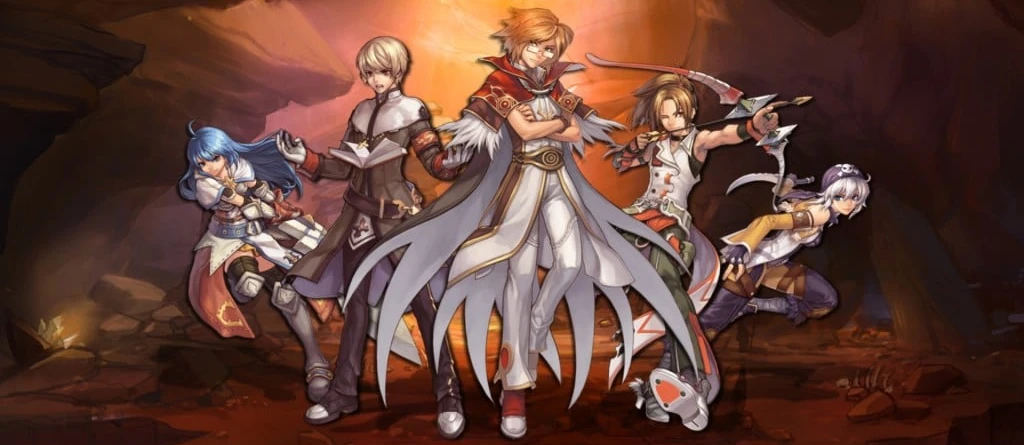
 Secondary Class Guides

Monk is the martial continuation of ![]() Acolyte, turning early support foundations into a high-pressure melee class with combo chaining, spirit sphere management, and burst finishers. On Age of Ymir, the class is defined by
Acolyte, turning early support foundations into a high-pressure melee class with combo chaining, spirit sphere management, and burst finishers. On Age of Ymir, the class is defined by ![]() Triple Attack,
Triple Attack, ![]() Chain Combo,
Chain Combo, ![]() Combo Finish, and
Combo Finish, and ![]() Asura Strike.
Asura Strike.
Monks scale mainly through STR and AGI for combo pressure, DEX for hit consistency, and enough VIT or INT to support either leveling or burst setups. The class can level as a fast combo fighter, a tanky autocast route, or a spirit-driven burst build that later feeds cleanly into ![]() Champion.
Champion.
 Details
 Builds
 Skills
 Tactics
 Leveling
 Job Change
 Details
Monks are versatile melee damage dealers with combo chaining, spirit resource play, high mobility, and strong burst options for both PvM and bossing.


| Job Bonuses | STR+8 AGI+7 VIT+6 INT+2 DEX+4 LUK+3 |
|---|---|
| Type | MeleeBurstCombo |
| Max Job Level | 50 |
| Skill Access | 15 Monk skills + 2 quest skills |
| Next Job | |
| Job Change Area | |
| Core Role | Monk cycles spirit spheres into combo pressure, single-target burst, and safe mobility using |
 Builds
Basic Leveling / Combo Build
This is the standard solo Monk route. It pushes high AGI and STR for strong combo uptime, then adds enough DEX to keep hit rate stable on normal leveling targets. Your main damage comes from chaining ![]() Triple Attack into
Triple Attack into ![]() Chain Combo and
Chain Combo and ![]() Combo Finish.
Combo Finish.
![]() Steel Body is also very useful later when you need to tank while leveling in denser maps.
Steel Body is also very useful later when you need to tank while leveling in denser maps.
Ifrit Mask Build
This route is built around taking many hits at once while triggering auto-cast gear. The main shell uses ![]() Steel Body together with high INT and enough durability to survive dense pulls. It is much more gear-sensitive than the basic combo route, but it can clear very efficiently once online.
Steel Body together with high INT and enough durability to survive dense pulls. It is much more gear-sensitive than the basic combo route, but it can clear very efficiently once online.
Asura Strike Burst Build
This is the high-burst route for players who want to build around ![]() Asura Strike, spirit management, and heavy single-hit output. It values STR, INT, and max SP-oriented gear much more than the combo build does, and it is much stronger in bossing or burst windows than in general field farming.
Asura Strike, spirit management, and heavy single-hit output. It values STR, INT, and max SP-oriented gear much more than the combo build does, and it is much stronger in bossing or burst windows than in general field farming.
 Skills
| Skill | Summary | |
|---|---|---|
| Passive | Increases damage with bare hands and knuckle-class weapons and anchors the Monk melee route. | |
| Support | Builds the spirit sphere resource that powers Monk mobility, burst, and combo utility. | |
| Passive | Improves FLEE and supports early combo leveling by making close-range uptime more stable. | |
| Combo | Starts the Monk combo chain and provides the first major jump in melee pressure. | |
| Quest | Transfers one spirit sphere to a party member. Useful for coordinated party support and sphere-sharing setups. | |
| Support | Converts spirit spheres back into SP, helping sustain longer sessions and burst resets. | |
| Offensive | Single-target strike that performs especially well against targets with high defense. | |
| Control | Immobilizes both Monk and the target, enabling follow-up utility and specific combo interactions at higher levels. | |
| Combo | Second stage of the combo chain and one of your core leveling damage skills. | |
| Quest | Quest skill that delivers a strong palm strike and can stun nearby enemies. This is how the live AoY Monk tree presents MO_BALKYOUNG. | |
| Support | Boosts crit rate and unlocks Asura Strike. Essential for burst routes and combo finish setups. | |
| Ranged | Reliable ranged sphere dump and a useful bridge skill for pressure at distance. | |
| Passive | Improves HP and SP regeneration while sitting, helping Monk recover more reliably between pulls and resets. | |
| Combo | Combo finisher for standard leveling and the last step before combo-based Asura Strike routes. | |
| Burst | Massive single-hit burst skill that consumes SP and spirit setup. Central to MVP and burst-oriented Monk play. | |
| Defensive | Massively reduces incoming damage and lets Monk tank dangerous pulls or MVP hits when used correctly. | |
| Mobility | High-speed reposition tool that defines Monk mobility in both farming and boss content. |
 Tactics
| Technique | How It Helps |
|---|---|
| Clicking an open tile near the end of the cast helps bypass part of the after-skill delay so you can act more quickly after the hit lands. | |
| Mostly cosmetic, but useful for understanding how precise Body Relocation placement and repeated re-input behave during movement practice. | |
| Attack cancel with | Useful for cutting off normal attack flow immediately when you need to stop attacking or shift targets cleanly. |
| This combination is one of Monk's best tanking tools. It lets you re-enter dangerous fights or MVP pulls quickly after defensive uptime ends. | |
| Dropping Pneuma on an Asura Strike target's cell can interfere with their ability to rely on Safety Wall in that spot. |
Equipment
| Category | Recommendation |
|---|---|
| Eden Group equipment is the best early starting point. The mace line is especially practical for Monk and remains useful until better specialized gear becomes available. | |
| Combo Monks generally want gear that boosts STR and AGI, while burst Monks want max SP, attack, and stat support for Asura Strike windows. | |
| Good all-around footgear option. Popular card pairings include | |
| Monk armor choices usually lean toward STR or INT-enchanted armor depending on whether you are building combo or burst. Common card choices include | |
| A practical garment option, especially if you lean into Morpheus accessory pairings. | |
 Leveling
| Range | Where | Why It Works |
|---|---|---|
| 50-70 | Reliable early second-class map for combo Monk because the targets are dense, accessible, and easy to pressure with standard melee chaining. | |
| 70-85 | Useful if your combo setup is stable and you want straightforward physical leveling with room to Body Relocation and reposition cleanly. | |
| 85-99 | Monk can contribute well in denser party routes once Steel Body, Body Relocation, and your combo flow are all comfortable to use under pressure. | |
| Quest Support | Eden Group quests help smooth the slower portions of Monk leveling, especially if your build is still waiting on core combo skills or gear. |
 Job Change
| Route | What You Get | Notes |
|---|---|---|
| Access to the full Monk job change sequence, including the item collection, memory, movement, and monastery tests. | The official route takes place at | |
| Direct Monk job change support through the AoY Job Master route. | For second classes, the Job Master is the convenience option. It does not grant the first-job incentive bundle, but it does handle the job change directly and grants quest/platinum skills automatically. See |
Source referenced: iRO Wiki: Monk (opens in a new tab)