 How to Hunt
This guide will walk you through the complete process of participating in Monster Hunter hunts, from preparation to completion. Whether you're a new hunter or looking to refine your strategy, follow these steps to maximize your success.
 Prerequisites
| Requirement | Description |
|---|---|
| Select a Role | You must choose a Monster Hunter role via the |
| Form a Party | Monster Hunter hunts require a party. The party leader is responsible for generating the hunting permit and starting the instance. Recommended party composition: 1 Tank, 2 Damage, 1 Healer, 1 Utility. |
| Meet Level Requirements |
|
| Gear Requirements |
|
| Permit Cost |
|
 Step-by-Step Guide
Step 1: Select Your Role
Visit the ![]() Role Manager and select your preferred role. Each role grants unique skills that activate automatically when you enter a Monster Hunter instance. You can change your role at any time, but remember to re-enter an instance for the new role skills to take effect.
Role Manager and select your preferred role. Each role grants unique skills that activate automatically when you enter a Monster Hunter instance. You can change your role at any time, but remember to re-enter an instance for the new role skills to take effect.
![]() Tip: Roles are saved per character. Make sure all party members have selected their roles before starting a hunt.
Tip: Roles are saved per character. Make sure all party members have selected their roles before starting a hunt.
Step 2: Form Your Party
Create or join a party. The party leader generates the permit and starts the instance.
- 1 Tank - Damage absorption
- 2 Damage - Primary DPS
- 1 Healer - Support & recovery
- 1 Utility - Crowd control
Step 3: Prepare for the Hunt
Before generating a permit:
- Visit
 Delphina for healing and buffs
 - Check gear requirements for your target rank
- Stock up on potions and consumables
- Have permit cost ready (Zeny or
 Monster Hunter Ticket)
Step 4: Generate a Hunting Permit
Party leader visits the Hunt Agent:
-
Low Rank:
 Low Rank Hunts
-
Mid Rank:
 Mid Rank Hunts
-
High Rank:
 High Rank Hunts
Weekly Elemental Rotation: Elements change weekly. Each has different monsters and bosses.
Step 5: Accept Quests (Optional)
Accept hunting quests from the Hunt Agent:
- Monster Hunt Quests - Kill specific quantities of normal monsters
- Boss Hunt Quests - Kill the boss for the selected element
- EXP equal to monster EXP x quantity killed
- 1x Monster Hunter Ticket per quest
- Variable Zeny amounts
Step 6: Enter the Instance
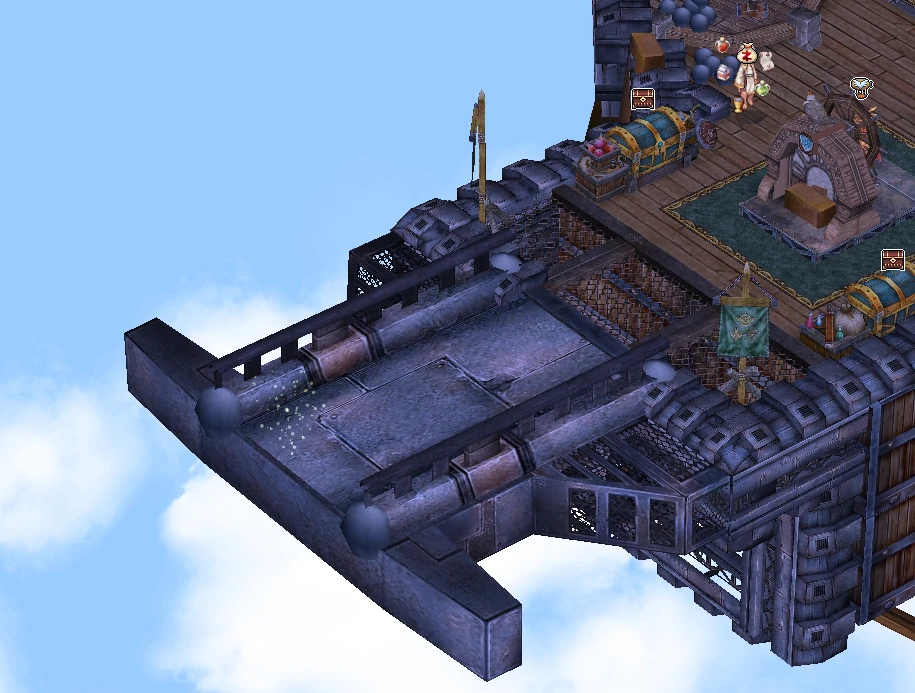
All party members go to the Jump Platform at The Wyvern. The platform warps the entire party to the instance.
Step 7: Start the Hunt
Inside the instance:
- Only the party leader can start the hunt
- 30-second preparation time before monsters spawn
- Use this time to position your party
- Role-specific skills are automatically available
 Instance Mechanics
| Mechanic | Description |
|---|---|
| Death System | Your party has 3 lives maximum (shared across all party members). If all lives are exhausted, the instance fails and all players are warped back to The Wyvern. |
| Boss Spawn | The boss monster spawns after killing 50 regular monsters. A warning appears at 10 kills remaining: "will appear after the next 10 monsters!" The boss spawns 10 seconds after reaching 50 kills. |
| Recovery Lodge | Players respawn at the Recovery Lodge (161, 128) upon death if lives remain. Forest Guides at (31, 151) and (164, 126) can warp you back to the hunt area. |
| Monster Spawning | Up to 25 monsters can be active in the instance at once. Monsters are evenly distributed across configured mob types and respawn after being killed. |
| Completion | After defeating the boss, all players are automatically warped back to The Wyvern. Quest rewards are granted upon completion. |
| @mhstatus Command | Use @mhstatus during the hunt to check your current progress, kill count, and remaining lives. |
 Tips & Strategies
| Tip | Description |
|---|---|
| Communication is Key | Coordinate with your party members. Assign roles clearly and communicate during the hunt, especially when the boss is about to spawn. |
| Manage Your Lives | With only 3 lives total, be cautious. Healers should prioritize keeping the party alive, and Tanks should absorb damage effectively. |
| Use Role Skills | Your role-specific skills are powerful. Learn when to use them effectively - Tanks for defense, Damage for burst, Healers for recovery, Utility for control. |
| Positioning Matters | During the 30-second preparation time, position your party strategically. Tanks should be in front, Healers in the back, Damage in optimal positions. |
| Boss Preparation | When you see the "10 monsters remaining" warning, prepare for the boss. Heal up, rebuff, and position your party for the boss encounter. |
| Quest Management | Accept multiple quests before entering. You can complete several quests in a single run, maximizing your rewards. |
| Elemental Awareness | Different elements have different monsters and bosses. Research the current week's rotation to prepare accordingly. |
| Save Monster Hunter Tickets |