 Teleport Orb
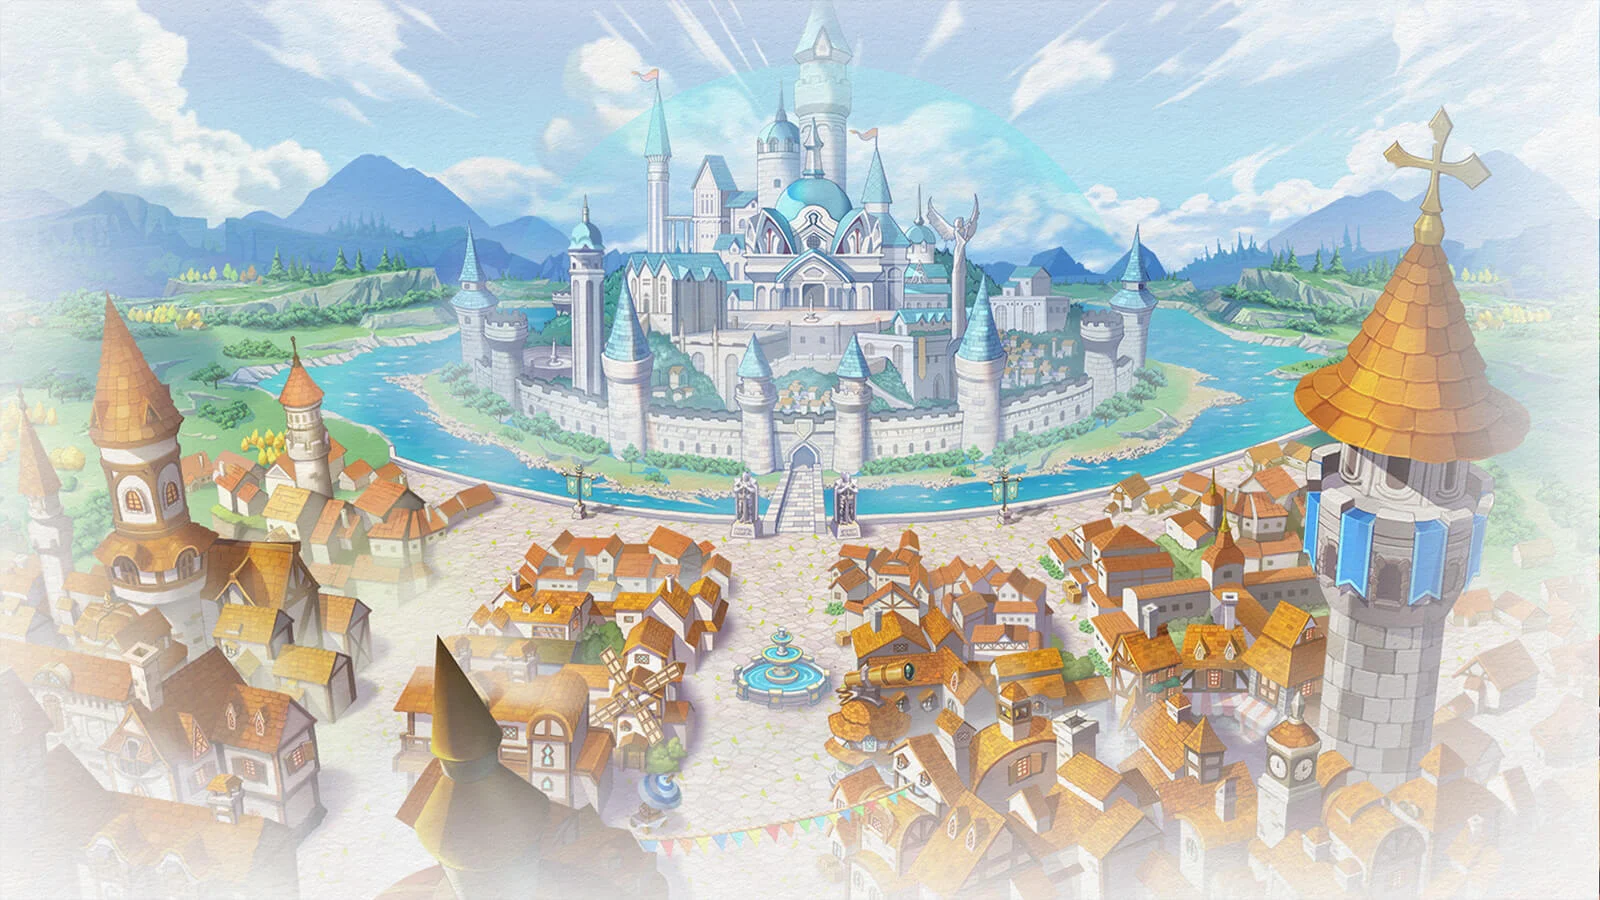
The Teleport Orb is your gateway to fast travel across Midgard. This advanced warping system provides convenient access to all major towns and dungeons, with intelligent features that make navigation effortless.
 Aurelia (Main Office)aurelia 200, 49 The Teleport Orb can be found in Aurelia and other major towns. Simply click on the orb to access the warping menu. |
When you interact with the Teleport Orb, you'll see a status overview showing:
- Dungeon Passes: Your progress (completed/total)
- Completed Quests: Your quest dungeon completion status (completed/total)
 Dungeon Pass System
The Dungeon Pass system rewards dedicated adventurers with free warps to their favorite farming locations. By defeating a set number of monsters within a dungeon, you'll earn a permanent pass that allows you to:
- Warp for free to that dungeon
- Choose any floor you want to access
- Skip the warp fee entirely
 How It Works
- Enter a dungeon - Start hunting monsters in any dungeon that supports the pass system
- Track your progress - The system automatically tracks your kills as you hunt
- Earn your pass - Once you reach the required kill count, you'll receive a notification
- Enjoy free warps - Use the Teleport Orb to warp to that dungeon for free, anytime!
 Important Notes
- Progress is tracked automatically - no need to talk to NPCs
- Kills must be made within the dungeon maps to count
- Progress updates every 10 kills with a notification
- Once earned, dungeon passes are permanent
- Each dungeon has its own kill requirement (varies by dungeon)
 Progress Tracking
You can check your dungeon pass progress at any time through the Teleport Orb:
- Open the Teleport Orb menu
- Select Information -> Dungeon Pass Progress
- View all dungeons with your current progress (kills/required)
- Green text = Dungeon Pass earned
- Red text = Still in progress
 Quest Dungeons
Some dungeons require quest completion before you can access them. These quest dungeons have special requirements:
 Quest Dungeon System
12 Quest Dungeons require completion of specific entrance quests:
- Amatsu Dungeon - Requires Amatsu Dungeon Entrance Quest
- Ayothaya Shrine - Requires Ayothaya Dungeon Entrance Quest
- Bio Lab Cave - Requires Biolabs Entrance Quest
- Brasilis Cave - Requires Brasilis Dungeon Entrance Quest
- Culvert Cave - Requires Prontera Culverts Entrance Quest
- Cursed Abbey - Requires Nameless Island Entrance Quest
- Kiel Cave - Requires Kiel Hyre Quest
- Rachel Sanctuary - Requires Rachel Sanctuary Quest
- Scaraba Hole - Requires El Dicastes questline
- Moscovia Cave - Requires Finding The Moving Island Quest
- Nidhogg's Cave - Requires Nidhoggur's Nest questline
- Geffenia - Requires Sign Quest
 Quest Completion Benefits
- Before Quest: High warp fee (varies by dungeon, typically 25,000-50,000z)
- After Quest: Reduced fee to 2,500z
- With Dungeon Pass: Free warps!
 Quest Guides
The Teleport Orb provides direct links to quest guides for each quest dungeon. When attempting to warp to a quest dungeon you haven't completed, you'll see a clickable link to the official quest guide.
 Dungeon List
 Dungeon Pass Requirements
Each dungeon has a different kill requirement. Easier dungeons typically require fewer kills (300-500), while challenging dungeons may require 1,000+ kills.
| Dungeon | Pass Kills | Regular Fee | Quest Fee (Before) | Quest Fee (After) | Fee w/ Pass | Quest Req. |
|---|---|---|---|---|---|---|
| Abyss Lake | 1,000 | 5,000z | - | - | 0z | No |
| Amatsu Dungeon | 300 | - | 25,000z | 2,500z | 0z | Yes |
| Anthell | 300 | 1,000z | - | - | 0z | No |
| Ayothaya Shrine | 500 | - | 50,000z | 2,500z | 0z | Yes |
| Beach Cave East | 100 | 500z | - | - | 0z | No |
| Beach Cave North | 100 | 500z | - | - | 0z | No |
| Beach Cave West | 100 | 500z | - | - | 0z | No |
| Bio Lab Cave | 1,000 | - | 50,000z | 2,500z | 0z | Yes |
| Brasilis Cave | 1,000 | - | 25,000z | 2,500z | 0z | Yes |
| Byalan Cave | 1,000 | 1,500z | - | - | 0z | No |
| Clock Tower | 500 | 2,000z | - | - | 0z | No |
| Coal Mine | 300 | 2,000z | - | - | 0z | No |
| Culvert Cave | 100 | - | 5,000z | 2,500z | 0z | Yes |
| Cursed Abbey | 1,000 | - | 50,000z | 2,500z | 0z | Yes |
| Einbroch Cave | 500 | 2,000z | - | - | 0z | No |
| Geffen Dungeon | 500 | 1,000z | - | - | 0z | No |
| Geffenia | 1,000 | - | 50,000z | 2,500z | 0z | Yes |
| Glast Heim | 500 | 2,000z | - | - | 0z | No |
| Gonryun Cave | 300 | 500z | - | - | 0z | No |
| Hidden Cave | 500 | 1,000z | - | - | 0z | No |
| Ice Dungeon | 300 | 5,000z | - | - | 0z | No |
| Juperos Cave | 1,000 | 5,000z | - | - | 0z | No |
| Kiel Cave | 500 | - | 50,000z | 2,500z | 0z | Yes |
| Louyang Cave | 300 | 500z | - | - | 0z | No |
| Magma Cave | 300 | 5,000z | - | - | 0z | No |
| Moscovia Cave | 500 | - | 50,000z | 2,500z | 0z | Yes |
| Nidhogg's Cave | 500 | - | 50,000z | 2,500z | 0z | Yes |
| Odin Temple | 500 | 5,000z | - | - | 0z | No |
| Orc Cave | 300 | 1,500z | - | - | 0z | No |
| Payon Cave | 300 | 1,000z | - | - | 0z | No |
| Rachel Sanctuary | 1,000 | - | 50,000z | 2,500z | 0z | Yes |
| Scaraba Hole | 500 | - | 50,000z | 2,500z | 0z | Yes |
| Sphinx | 500 | 2,000z | - | - | 0z | No |
| Sunken Ship | 100 | 3,000z | - | - | 0z | No |
| Thanatos Tower | 1,000 | 5,000z | - | - | 0z | No |
| Thor Volcano | 500 | 3,000z | - | - | 0z | No |
| The Pyramids | 300 | 2,000z | - | - | 0z | No |
| Toy Factory | 300 | 2,500z | - | - | 0z | No |
| Turtle Cave | 500 | 2,500z | - | - | 0z | No |
| Umbala Cave | 300 | 5,000z | - | - | 0z | No |
Pro TipFocus on earning dungeon passes for your favorite farming locations. Once you have a pass, you can quickly return to any floor for free, making farming much more efficient!