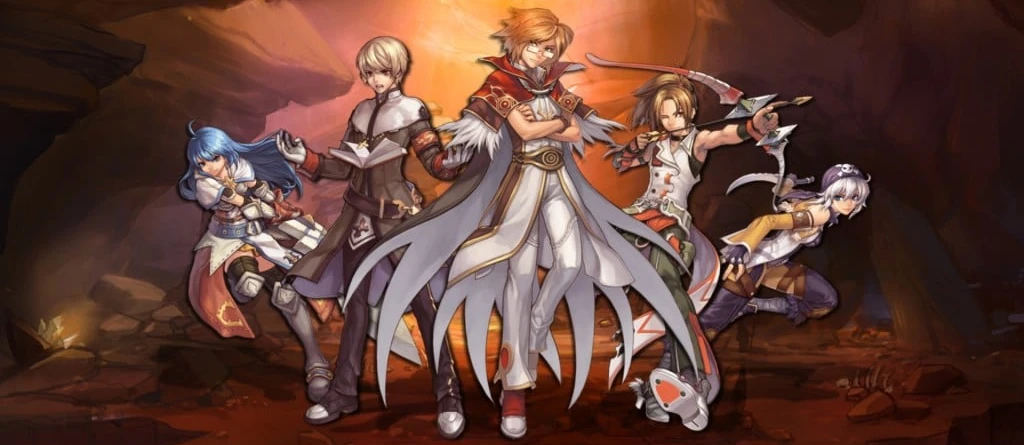
 Primary Class Guides

A Swordsman is a straightforward but dependable first class built around staying alive and holding the front line. The class starts with strong base HP, solid weapon access, and practical early skills like ![]() Bash,
Bash, ![]() Provoke, and
Provoke, and ![]() Magnum Break. Swordsmen are presented here as durable leaders trained in
Magnum Break. Swordsmen are presented here as durable leaders trained in ![]() swords and
swords and ![]() shields, but they can also branch into spears, axes, maces, and daggers depending on what you have available.
shields, but they can also branch into spears, axes, maces, and daggers depending on what you have available.
Swordsman is one of the cleanest early class routes for players who want durable melee progression, straightforward skill value, and a smooth transition into Knight or Crusader. The guide below focuses on practical leveling, useful gear, and the core tools that make the class reliable from the start.
 Details
 Builds
 Skills
 Equipment
 Leveling
 Job Change
 Details
Swordsmen are versatile frontline fighters with strong HP, practical self-sustain, and enough damage to level comfortably while preparing for Knight or Crusader.


| Job Bonuses | STR+7 AGI+2 VIT+4 INT+0 DEX+3 LUK+2 |
|---|---|
| Type | MeleeFrontlineTanking |
| Max Job Level | 50 |
| Base Skills | 7 core + 3 quest skills |
| Next Jobs | |
| Job Change Area |
| Equip | Attack Speed | From Novice |
|---|---|---|
| Bare Handed | 156 | 0 |
| Shield | -5 | +5 |
| Dagger | -7 | +8 |
| Sword (One Handed) | -7 | +10 |
| Sword (Two Handed) | -14 | N/A |
| Axe (One Handed) | -15 | -5 |
| Axe (Two Handed) | -20 | N/A |
| Mace | -10 | 0 |
| Spear (One Handed) | -17 | N/A |
| Spear (Two Handed) | -25 | N/A |
 Builds
Magnum Break Mobber
This is the more efficient early leveling route in the guide. Gather monsters, pull passive targets with ![]() Provoke, and clear packs with
Provoke, and clear packs with ![]() Magnum Break. A
Magnum Break. A ![]() one-handed sword plus a
one-handed sword plus a ![]() shield is recommended here for survivability, and maxing
shield is recommended here for survivability, and maxing ![]() Sword Mastery helps smooth out the damage while you mob.
Sword Mastery helps smooth out the damage while you mob.
Suggested base stats around level 40: STR 40, AGI 1, VIT 30, INT 16, DEX 20, LUK 1. This route is especially comfortable if you can pair with an ![]() Acolyte or carry solid recovery items.
Acolyte or carry solid recovery items.
Bash Auto-Attack
This route focuses on softening or finishing enemies one at a time with ![]() Bash and fast follow-up attacks. The guide recommends a
Bash and fast follow-up attacks. The guide recommends a ![]() two-handed sword with
two-handed sword with ![]() Two-Handed Sword Mastery for stronger raw damage. Good early targets are passive monsters like
Two-Handed Sword Mastery for stronger raw damage. Good early targets are passive monsters like ![]() Willow and
Willow and ![]() Bigfoot.
Bigfoot.
Suggested base stats around level 40: STR 26, AGI 50, VIT 1, INT 1, DEX 20, LUK 1. This path is cheaper to start with, but the mobbing route tends to age better as you progress.
 Skills
| Icon | Skill | Max Level | Description |
|---|---|---|---|
| Offensive | 10 | Single-target strike that scales from 130% to 400% ATK and gains bonus accuracy as you level it. | |
| Active | 10 | Prevents flinching for several hits, lasts longer at higher levels, and also raises MDEF while active. | |
| Passive | 10 | Boosts natural HP regeneration while stationary and improves the effectiveness of HP healing items. | |
| Offensive | 10 | Creates a 5x5 fire-property blast around the user, pushes enemies back, and serves as the core early mobbing skill. | |
| Active | 10 | Raises the target's ATK while lowering its DEF, making it easier to kill and useful for pulling passive monsters. | |
| Passive | 10 | Adds flat ATK when using one-handed swords and daggers, making it the key mastery for shield-based leveling. | |
| Passive | 10 | Adds flat ATK with two-handed swords and supports the higher-damage Bash auto-attack route. | |
| Quest | 1 | Triggers a Provoke-like state when HP drops below 25%, raising offense in exchange for lower defense. | |
| Quest | 1 | Allows Bash at higher levels to stun targets, adding useful control while leveling and during early party play. | |
| Quest | 1 | Lets your HP regeneration continue while moving, pairing naturally with Increase HP Recovery for smoother field leveling. |
 Equipment
For early beginners on AoY, the ![]() Eden Group Equipment Quests are one of the most helpful progression systems once you can start them, since they provide free gear that can comfortably carry your class through the early and mid-game.
Eden Group Equipment Quests are one of the most helpful progression systems once you can start them, since they provide free gear that can comfortably carry your class through the early and mid-game.
| Equipment | Description |
|---|---|
| The official Swordman guild quest rewards this starter weapon, and on AoY it remains the cleanest opening option if you are taking the full job-change route. | |
| The iRO guide strongly recommends the early Enchanter Mounds route for a Cotton Shirt with Max HP +100 and Max SP +50, which is still excellent value while gearing a fresh Swordman. | |
| If you keep that early armor for a while, HP-focused cards like | |
| The iRO leveling route calls this out as a fast-track item for early AoE leveling, especially if you want to move into Sunken Ship immediately. | |
| If your class path ever lacks an AoE option, the iRO guide highlights this card as a way to access Magnum Break-style farming utility earlier. | |
| For survivability, the guide still favors a one-handed sword and shield setup on the mobbing route, while two-handed swords are better when you want raw Bash and auto-attack damage. |
 Leveling
| Level Range | Location | Notes |
|---|---|---|
| 3-56 | The fast iRO route uses | |
| 10-21 | Without the fast-track item route, focus on | |
| 21-41 | Continue with passive targets like | |
| 41-55 | Shift into | |
| 55-60 | Keep working through |
 Job Change
You can become a Swordsman once your Novice reaches Job Level 10. On Age of Ymir, you have two practical routes:
| Route | What You Get | Notes |
|---|---|---|
| Go to | ||
| Use |
Recommendation
- If you want the classic experience and the free starter weapon, do the official quest.
- If convenience matters more, use the AoY Job Master and continue gearing through our database and progression systems.
Source referenced for class guide details: iRO Wiki: Swordman